Creating a Custom Action Figure Display
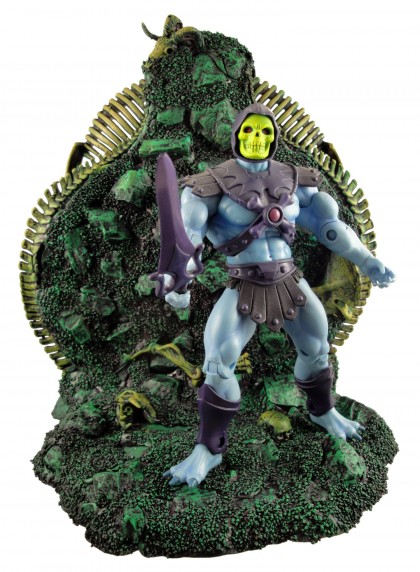
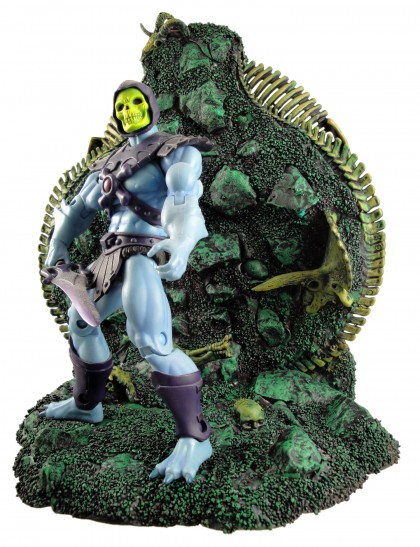
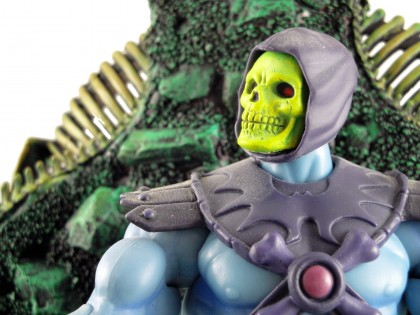
I’ve now successfully completed my big project for the holiday weekend. Here you can see photos of the custom action figure display that I created for my Masters of the Universe Skeletor as well as a few WIP shots as the piece came together. This display was inspired by this post at The Fwoosh and while it’s not as large or complex as the pieces shown in that post I’m happy with the results.
Step One
The first step to crafting the display was collecting my materials and assembling a rough base. Using Sculpey, stones I found on the side of the road, and assorted toy bones I put together the rough backdrop and base. This was done over a number of stages as I built up the base and started layering the details. The book How to Make Wargames Terrain* is one I’ve had for several years and was very useful as I put this piece together. Check it out if you’re planning to craft a display.
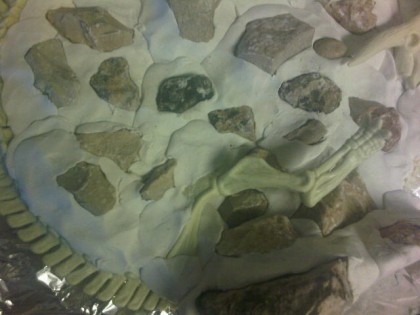
Step Two
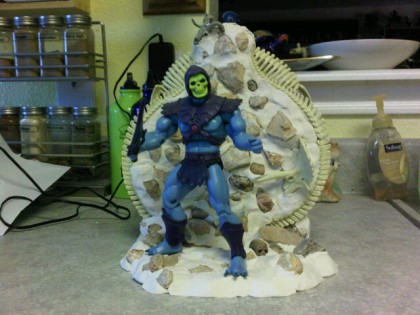
After about a day of off and on work the structure was completed and ready for detail work. Below you can see Skeletor standing on the naked display; it’s not all that impressive and the Sculpey doesn’t really blend all that well with the stones. But we can fix that.
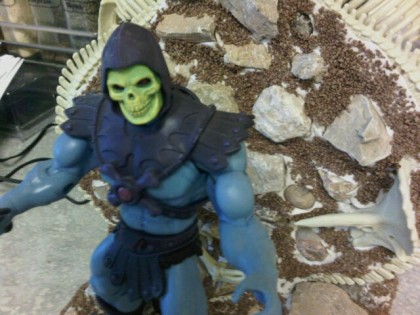
Using a combination of model railroad gravel and watered down glue I applied a rocky, rough texture over the Sculpey sections of the display. The photo below shows what this looks like and gives you an idea of just how patchy and ugly the entire piece looked at this stage in the process.
Step Three
One the pieces were completely dry — I left this overnight so that the railroad gravel would set — it was time to paint the display. This was done in various stages — flat purple spray, black/blue wash, and various drybrush coats — and I was a poor customizer and didn’t take photos of the paint at the different stages. Sorry, but I hadn’t even thought of putting together a short write up of how I made this until I started snapping the final photos.
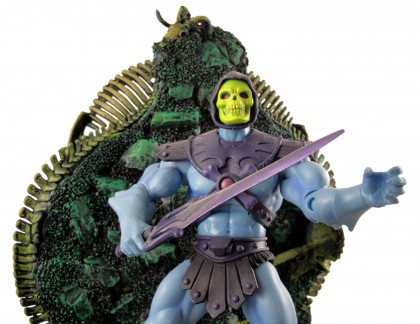
And That’s All There Is to it
And I’m done. I started this on Thanksgiving and finished this morning, spending roughly a total of four hours on crafting this custom display for my Masters of the Universe Skeletor action figure. If you like what you see here then I suggest taking a shot at creating a display of your own; the materials are fairly inexpensive and it doesn’t take a lot of artistic skill to create something as simple as I’ve done here.
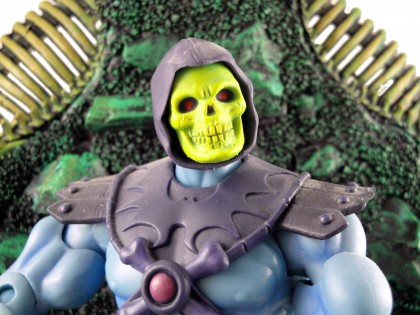
Scroll down the page for more photos of this custom display. I think it turned out pretty good and just need to find a good home for it in my collection. I’m sure to make more custom displays since this one didn’t take a lot of time and turned out nice; next time I’ll try to do a better job of photographing every stage in the process to give you a clearer look at how I did this.
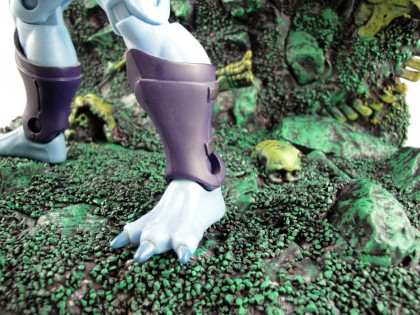
I hope you guys enjoy the pics of my new display. If I was smart I would have created this so that I could mold it and pour resin copies; I suspect at least a couple people out there would like a display like this for their collections.
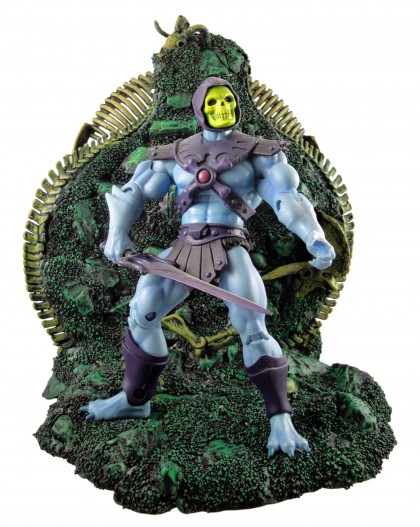

Nice work on this, Phil!
Cool stuff! I never thought of doing something like this, but you make it look easy.
Looks awesome!
Thanks, guys! Jonny, I say take a shot at it. This was pretty simple to do and the gravel and paint combination is pretty forgiving (I didn’t bother worrying about fingerprints in the Sculpey since I knew I’d be covering the entire thing with gravel).
Wow! I think you can start making custom displays for people.!
@E – Thanks! Unfortunately there just isn’t time in my life for that. I do wish someone was selling displays like this.
Looks fantastic! Thanks for doing the WIP writeups too!
@Seth L – Thanks, man. I promise to do a better job on WIP shots when I build a second display.